CI 自动化编译部署 MacOS App
在这篇文章中,我们将介绍如何使用 CI 自动化编译部署 MacOS App。文中所用到的 CI 工具是GitHub Actions。
之所以会有这样的一篇文章,是因为在实际使用 CI 部署 macOS app 的过程中会遇到很多很多的问题,而
互联网上关于用 CI 部署的文档多为 iOS app 的,而 macOS app 的文档很少,所以这篇文章就是为了解决这个问题。
技术栈
- Fastlane
- GitHub Actions
- SwiftUI (此处为原生 App 开发,不涉及 Electron)
准备
1. Certificates
我们需要先到Apple Developer中心创建Certificate。

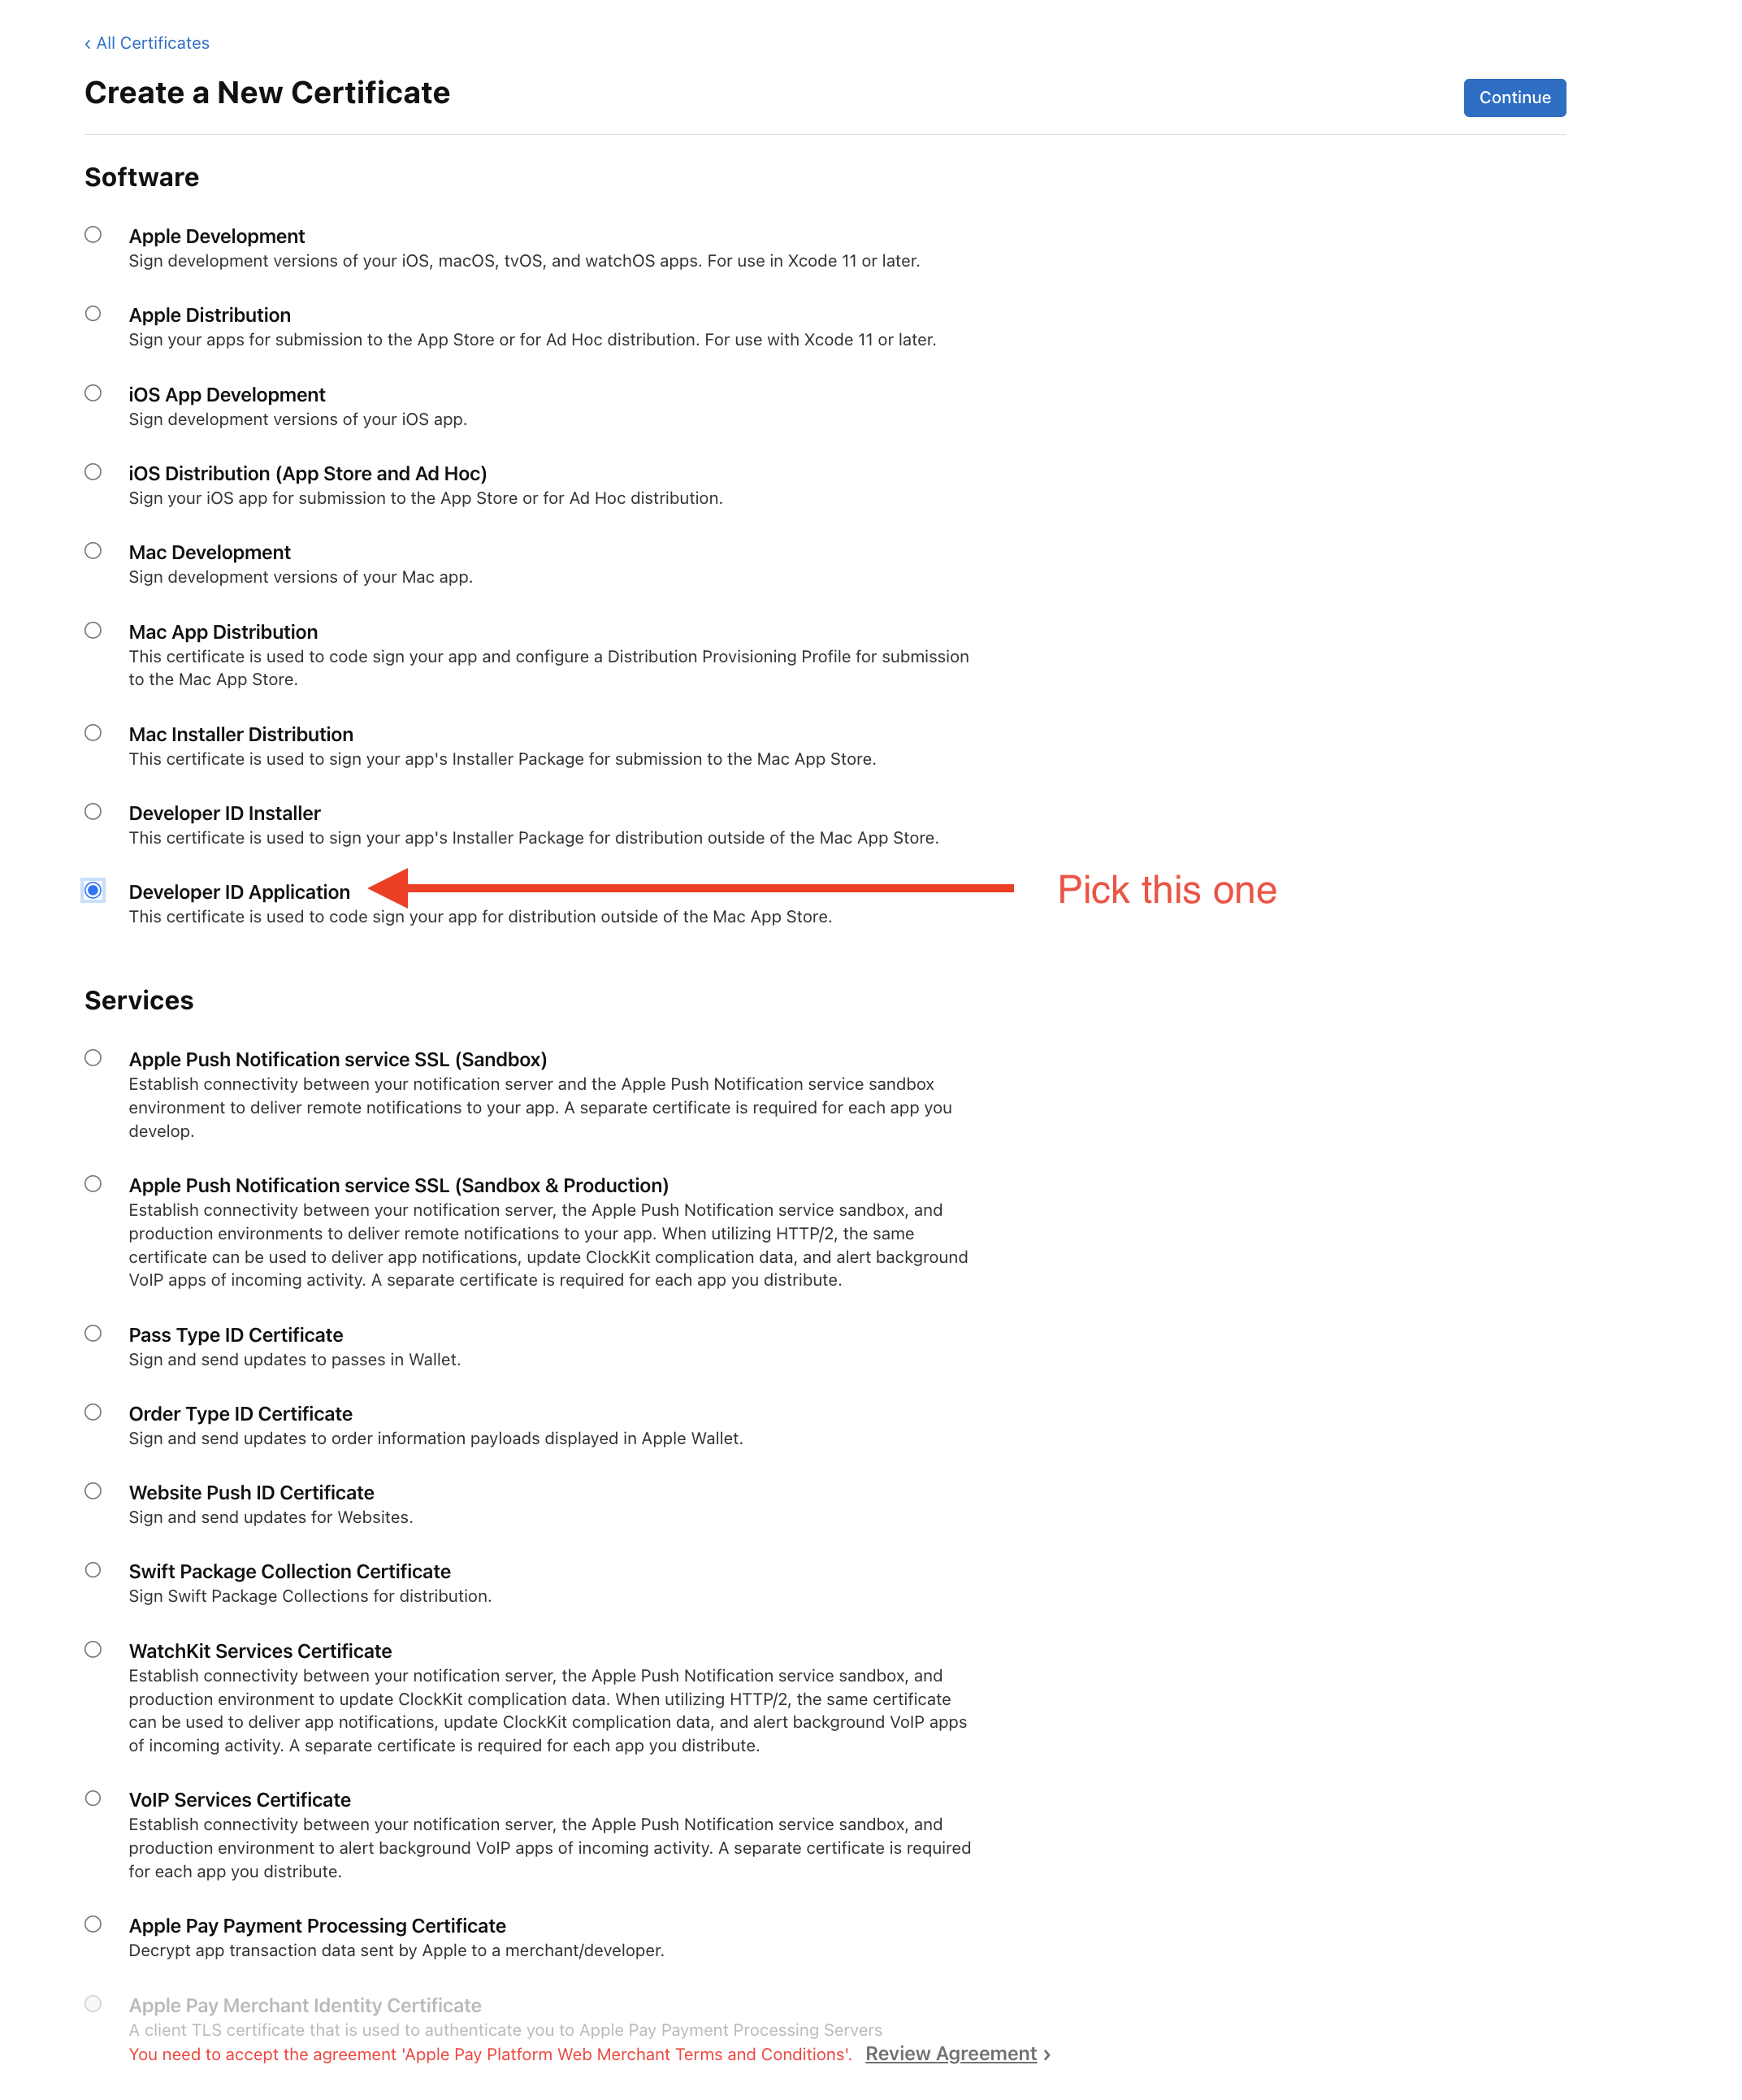
之后我们在Software 中选择 Developer ID Application 后选择 Continue.
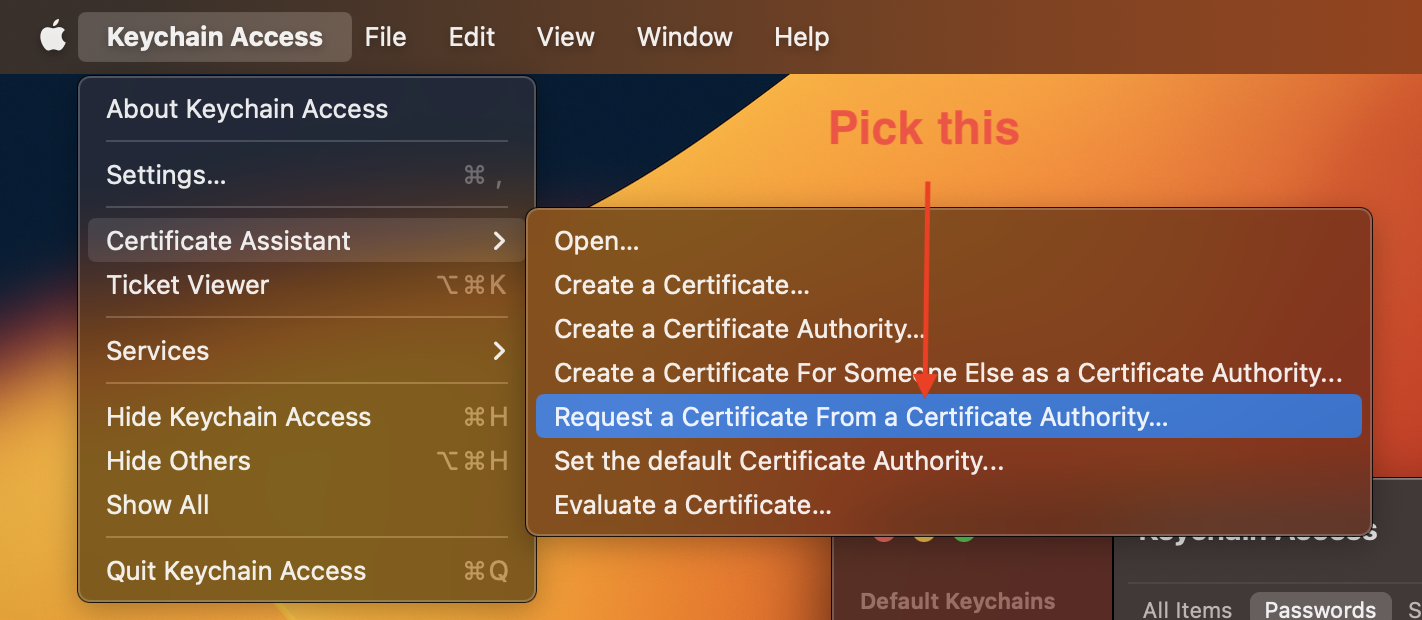
之后我们打开Keychain Access,在Keychain Access中选择Certificate Assistant,然后选择Request a Certificate from a Certificate Authority。
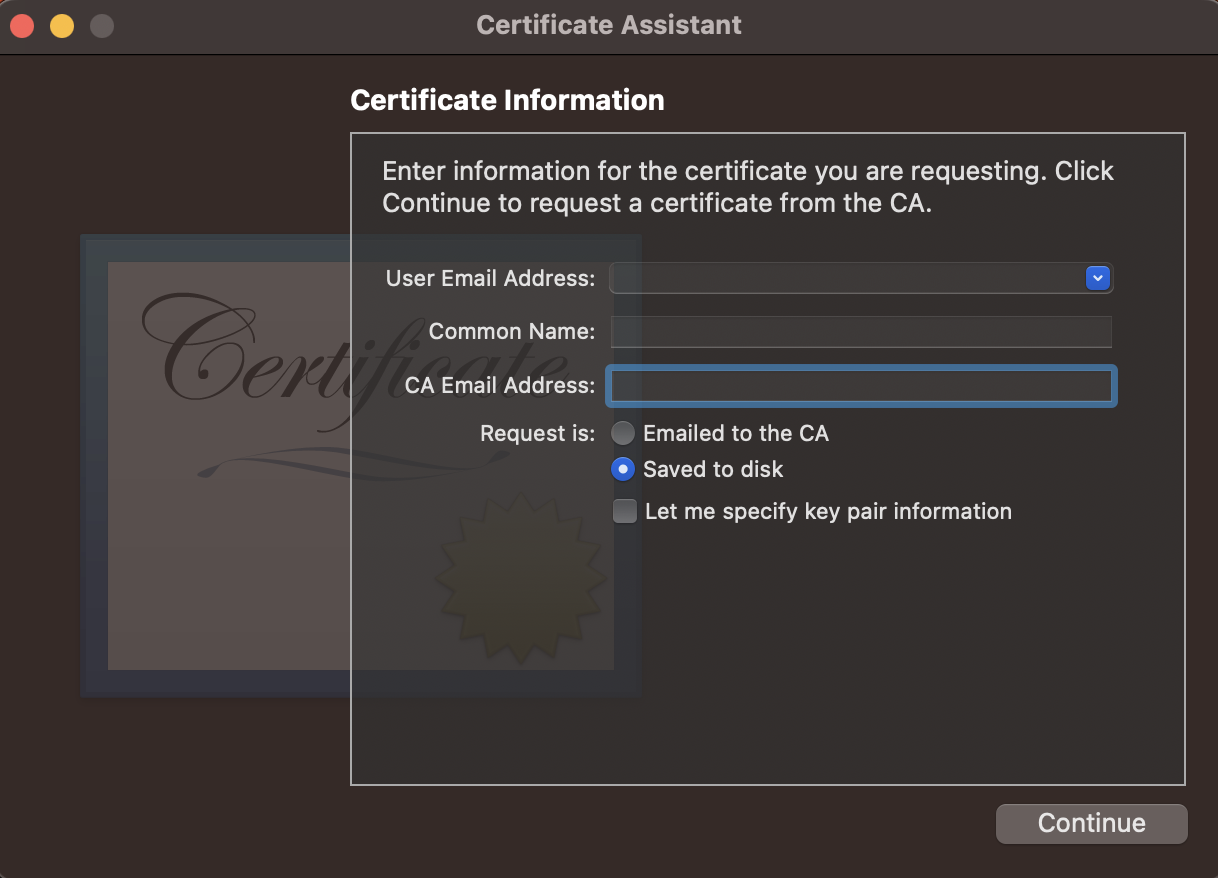
之后我们会看到一个Certificate Signing Request的弹窗,我们需要填写Email Address,Common Name 等信息,然后点击Continue。
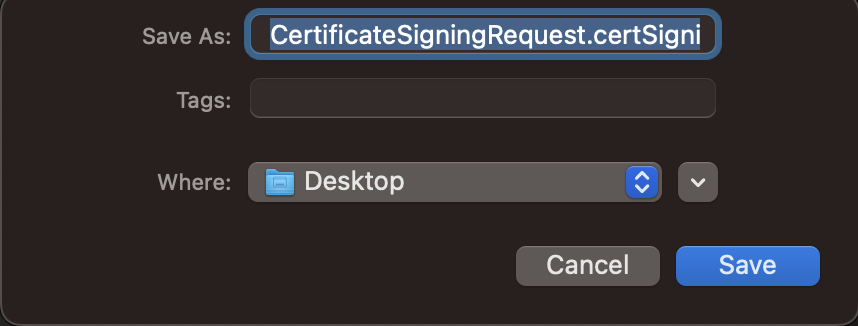
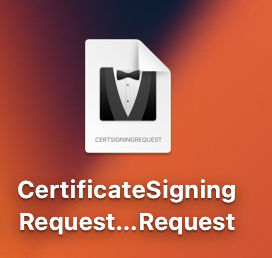
保存到桌面,然后我们会看到一个CertificateSigningRequest.certSigningRequest的文件,我们需要将这个文件上传到Apple Developer中心。
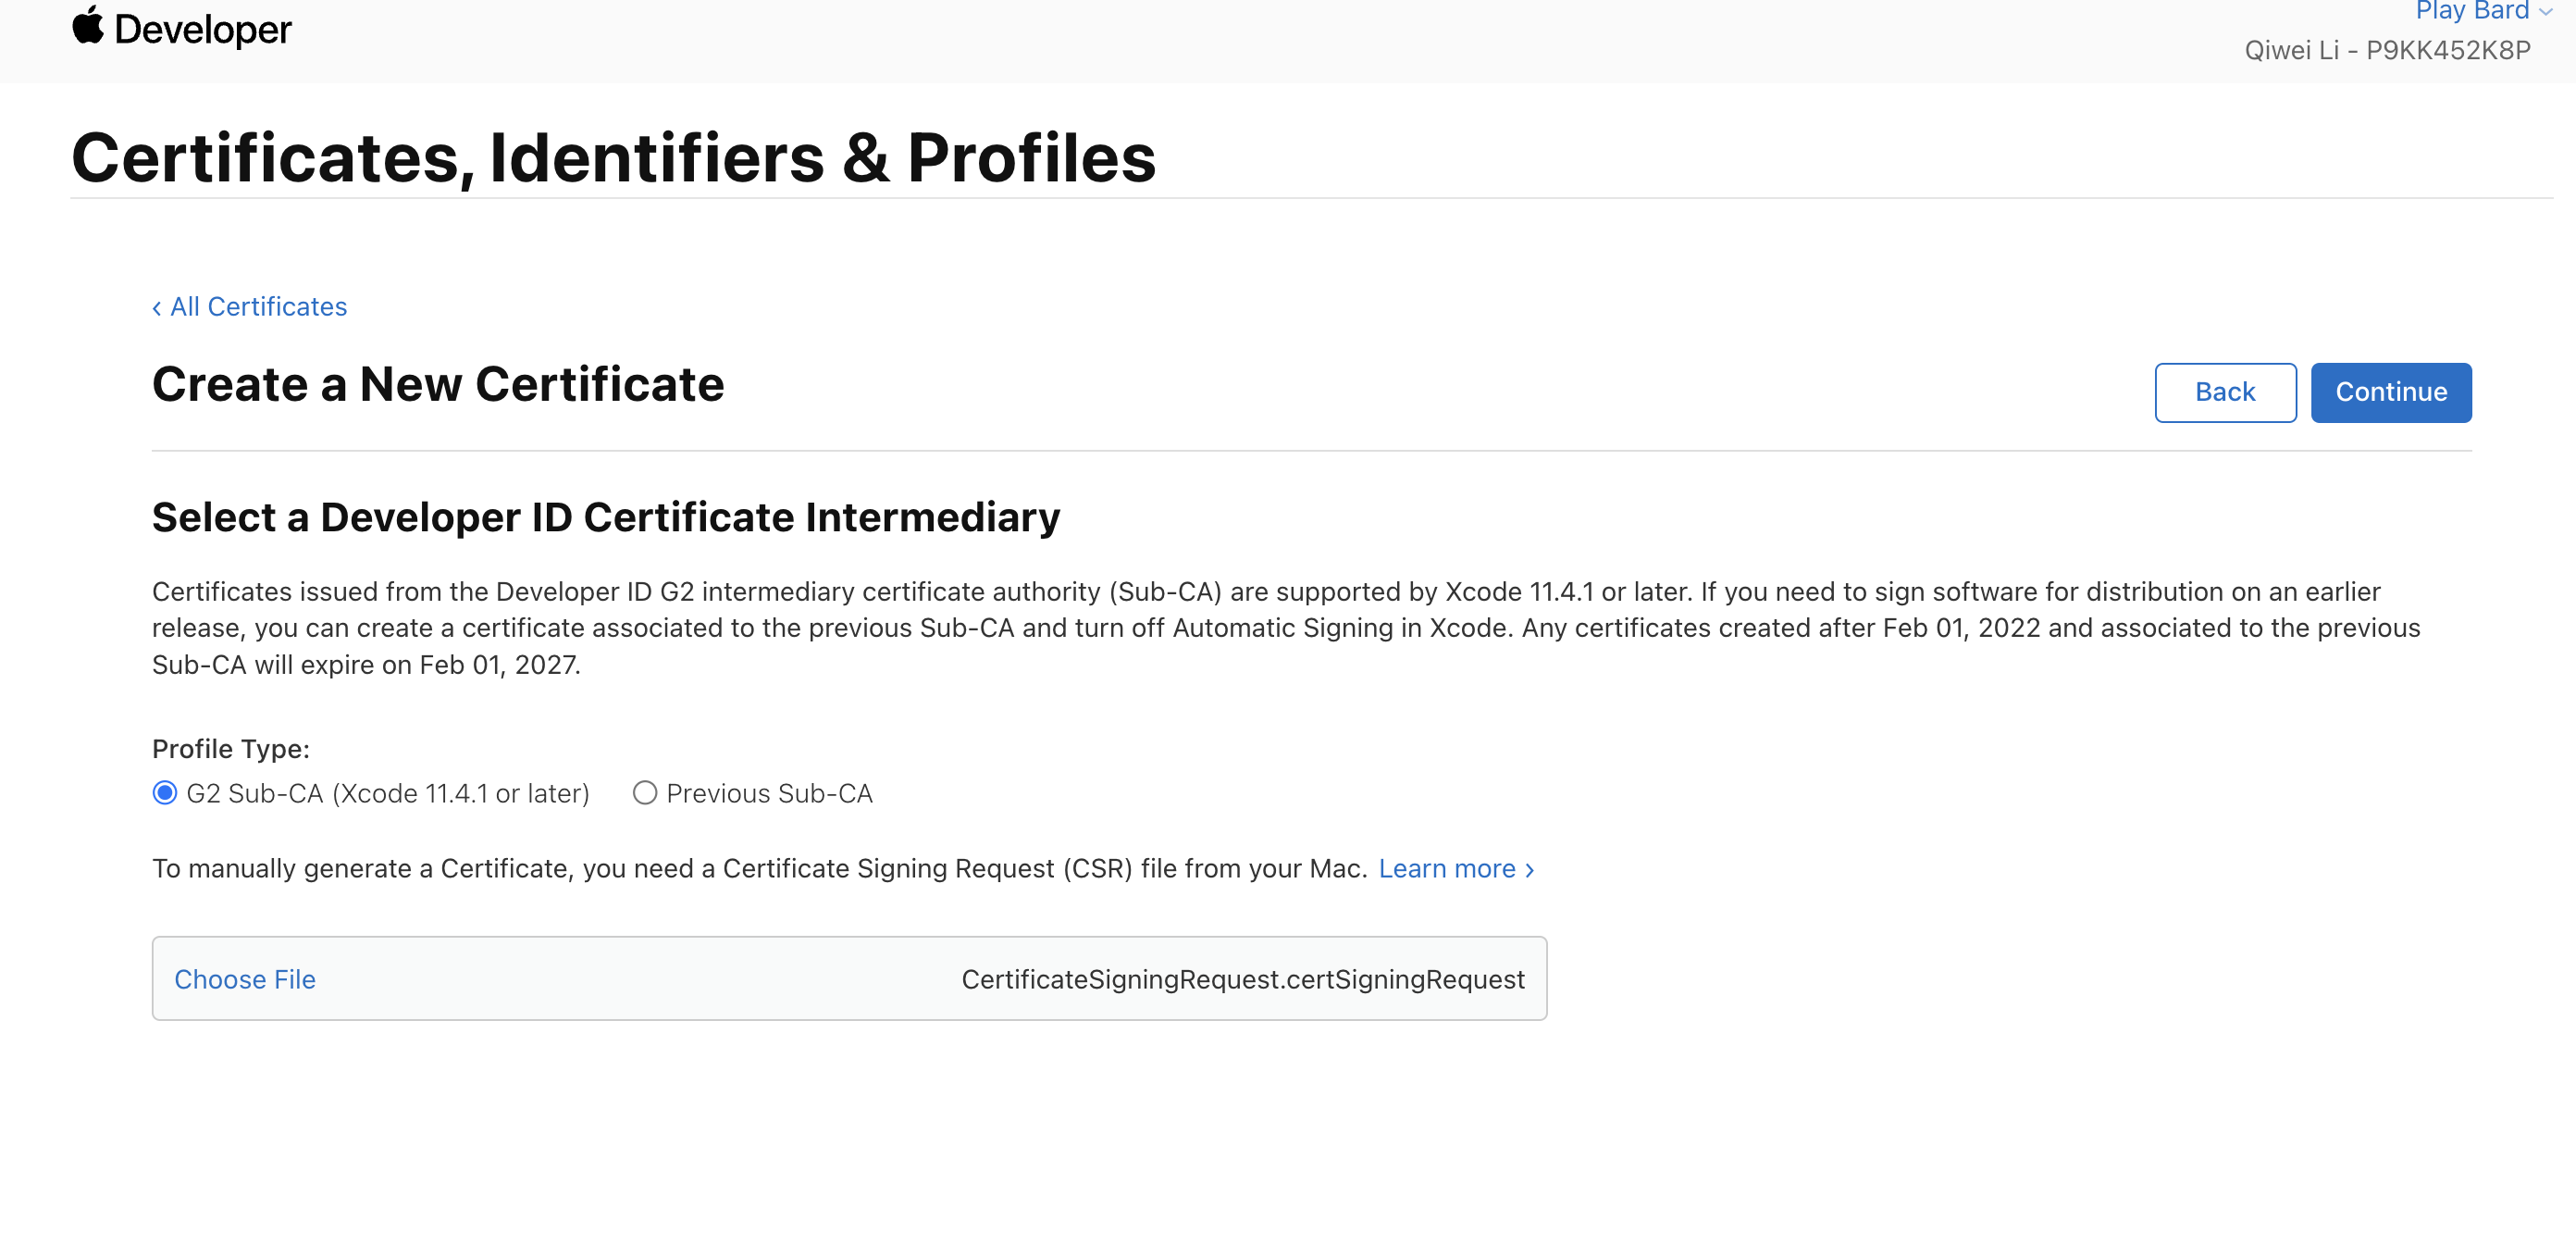
回到Apple Developer中心,将CertificateSigningRequest.certSigningRequest文件上传,然后点击Continue 之后点击Download。
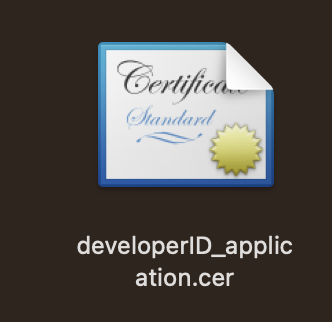
之后我们会看到一个developerId_application.cer的文件,我们需要将这个文件导入到Keychain Access中。
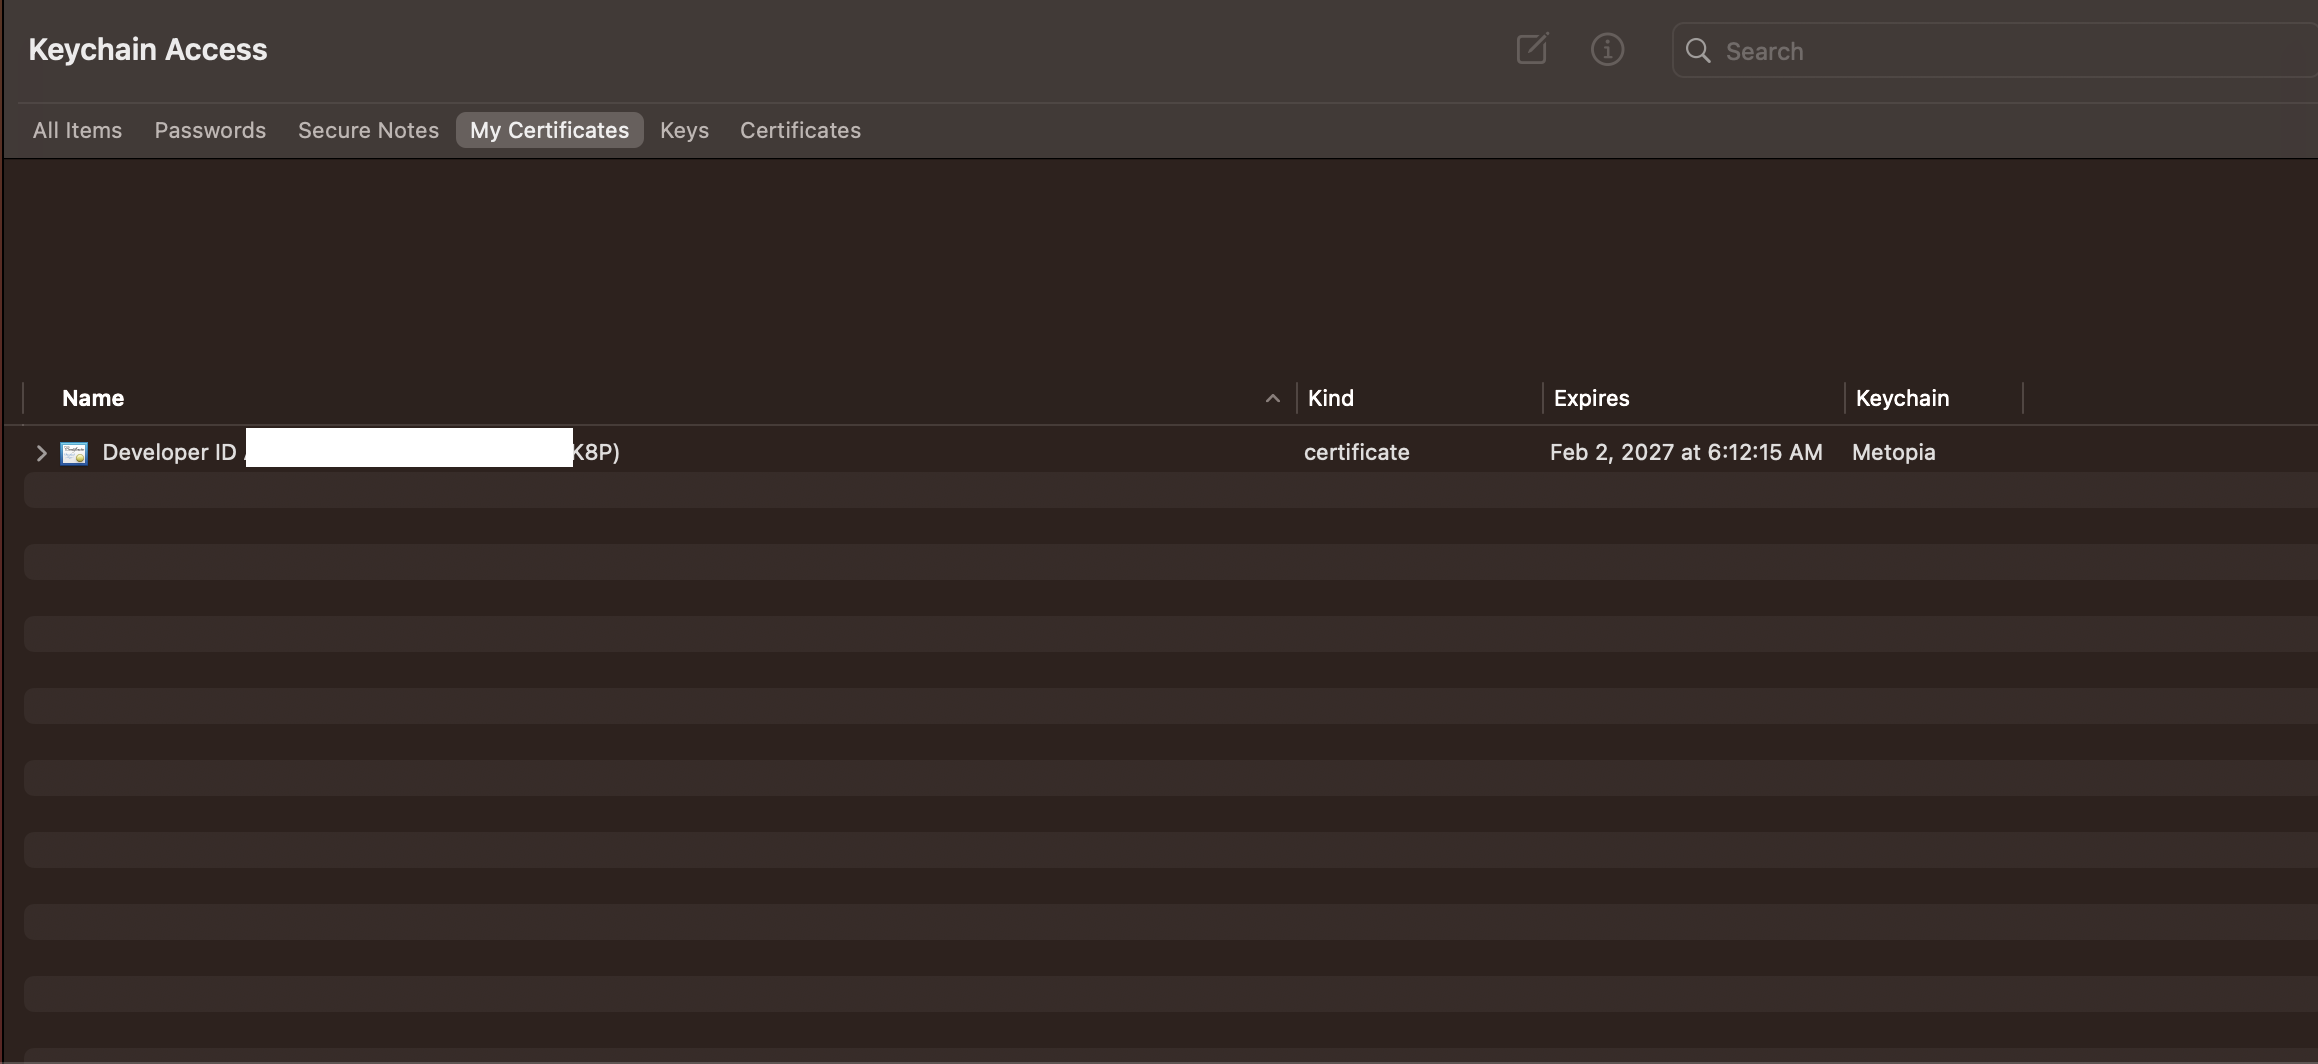
保存证书名
导入的Certificate 的命名格式为Developer ID Application: {Common Name}, 我们需要记住这个名字,之后会用到!
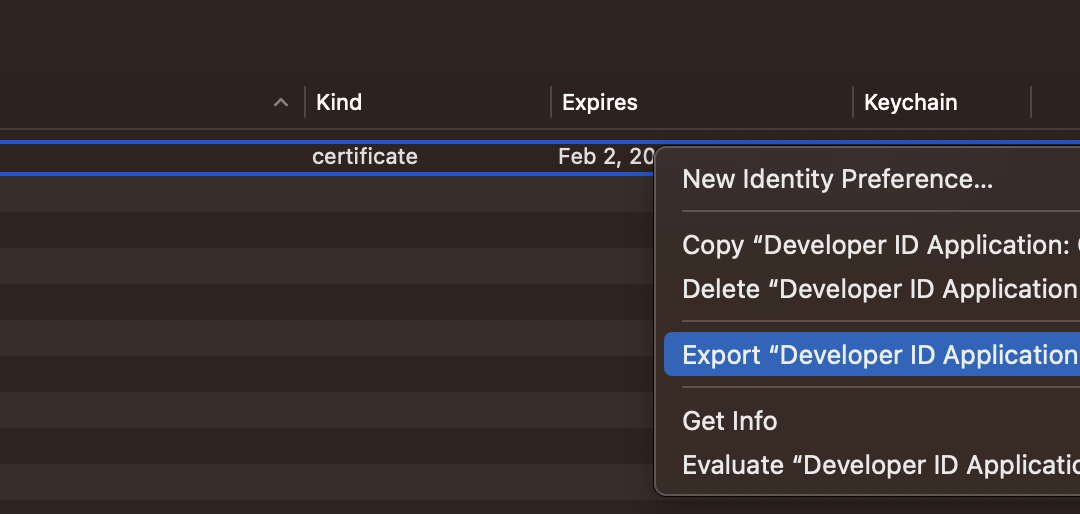
之后我们需要将这个Certificate导出为p12文件,我们需要在Keychain Access中选择这个Certificate,然后右键选择Export。
保存密码
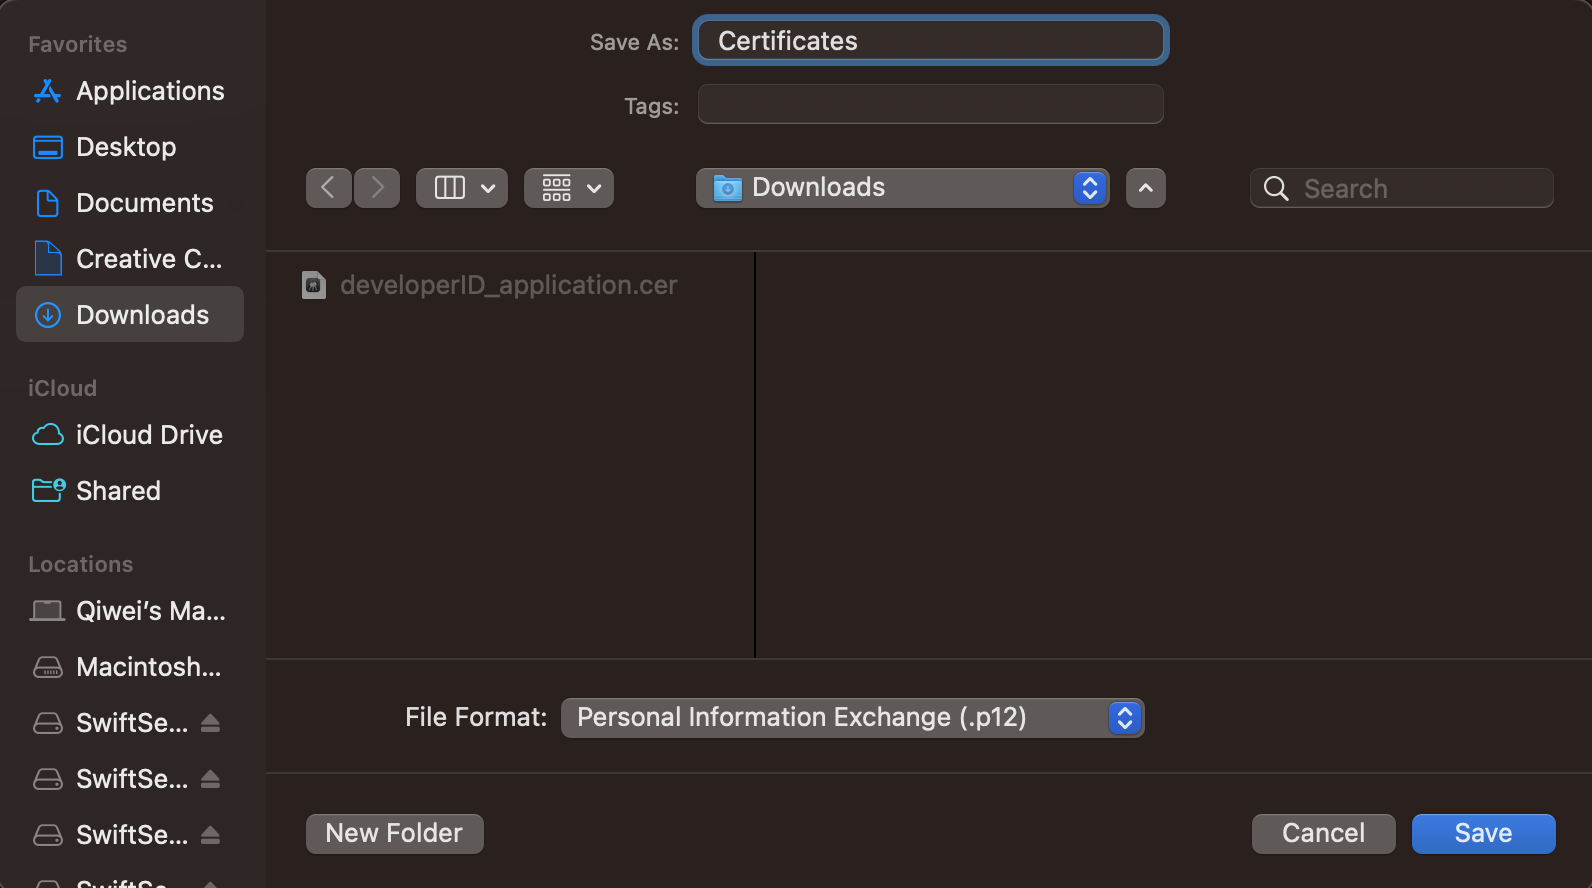
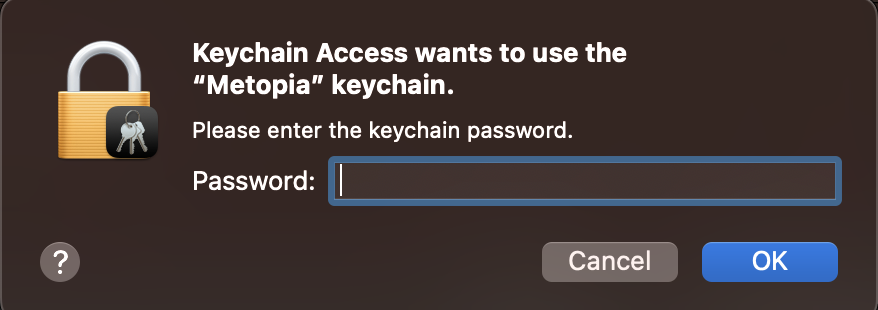
此处会问保存的位置和密码,保存的文件为.p12为后缀的文件,我们需要记住这个密码,之后会用到!
将证书保存为base64格式
在Terminal中输入
base64 -i Certificates -o Certificates.b64
之后我们会看到一个Certificates.b64的文件,我们需要将这个文件保存到GitHub中。
2. Notarization 准备
为了使用到Notarization,我们需要先到Apple Developer中心创建App Specific Password。
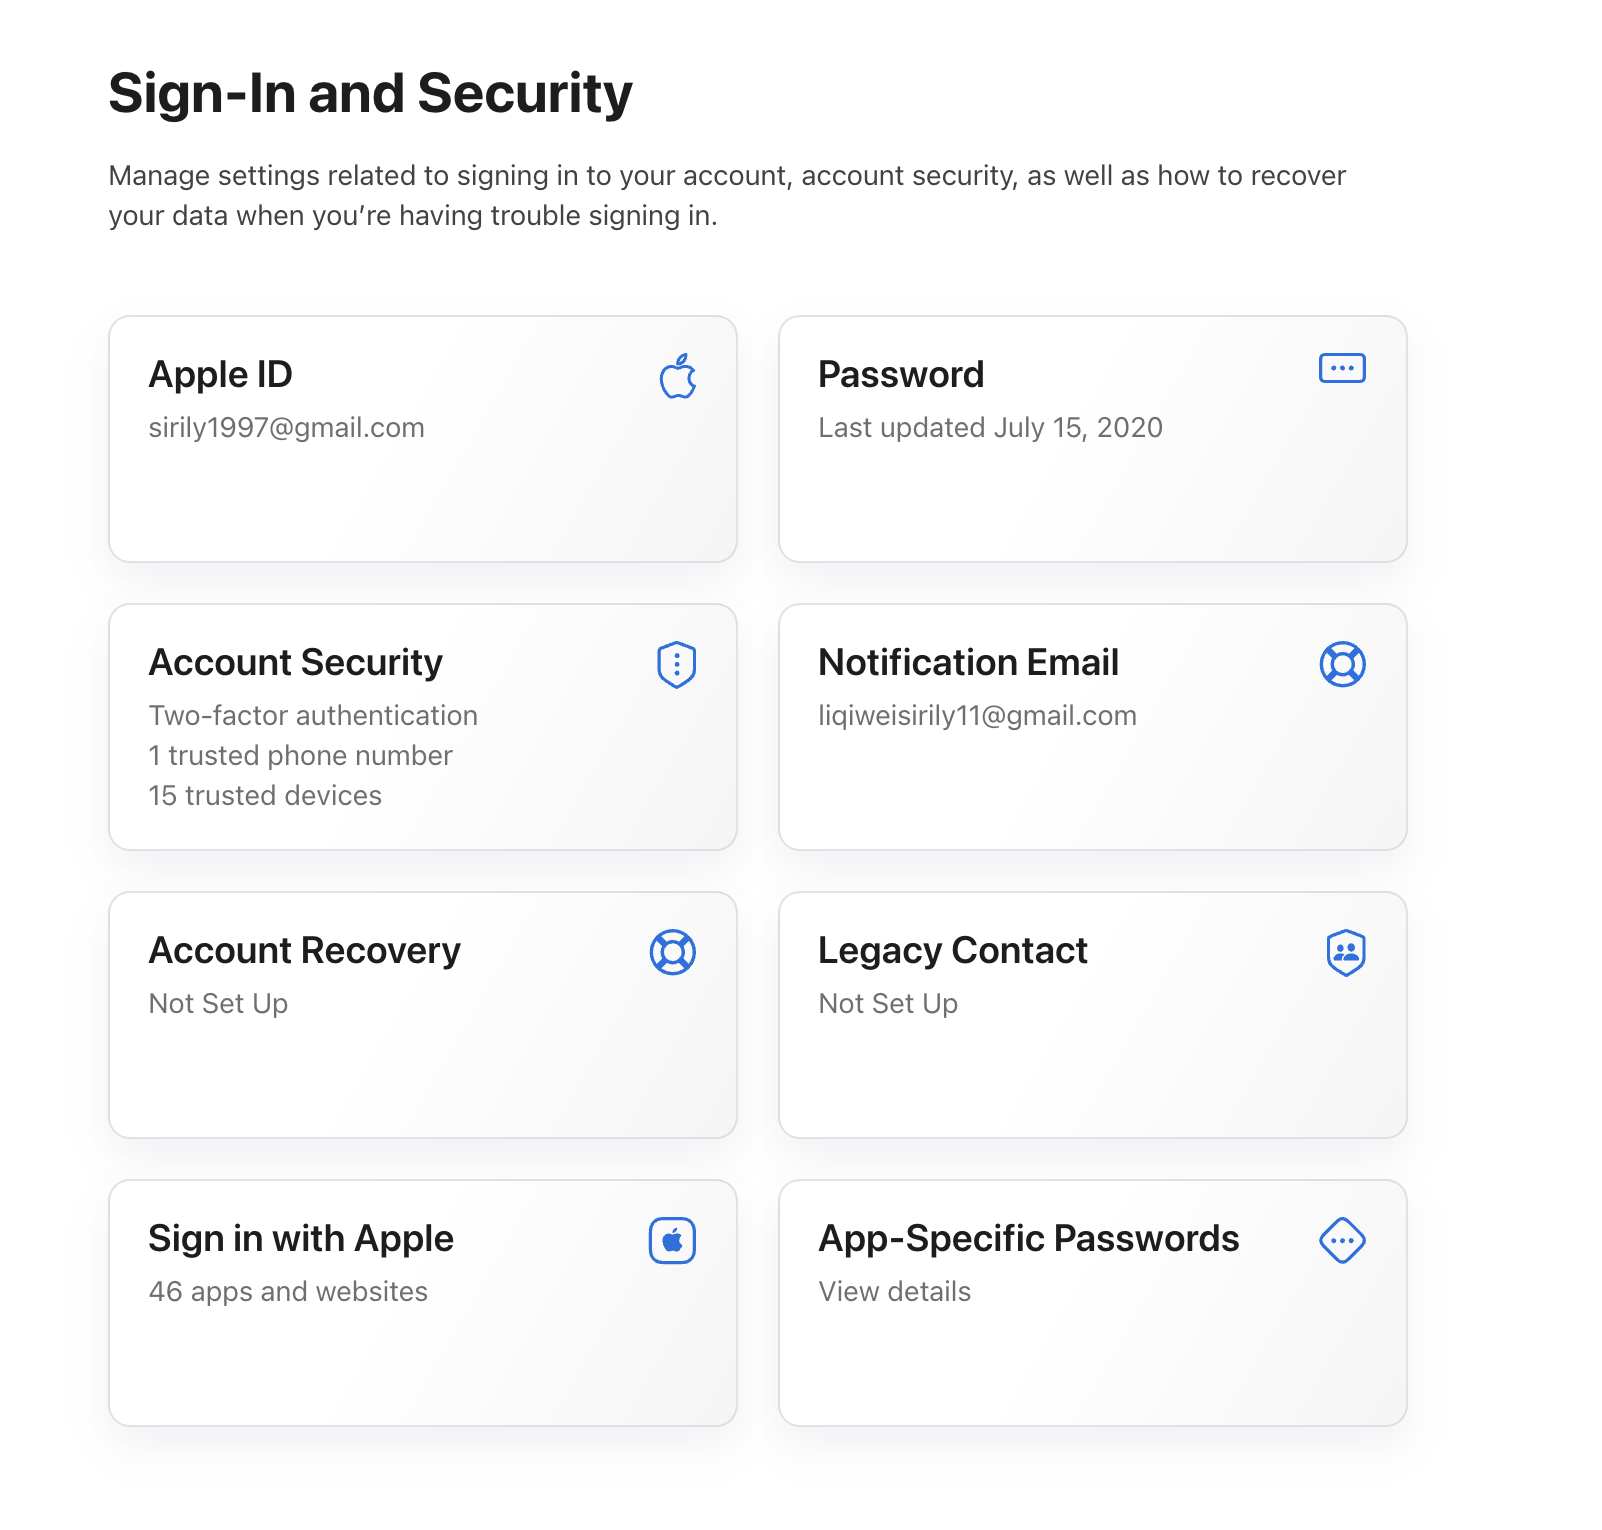
之后我们需要将这个App Specific Password以及你的Apple ID保存下来,之后会用到。
3. GitHub Actions
我们需要创建以下几个 GitHub Secrets。
- BUILD_CERTIFICATE_BASE64: 保存的
base64格式的Certificate文件 - P12_PASSWORD: 保存的
p12文件的密码 - KEYCHAIN_PASSWORD: 保存的
p12文件的密码 - APPLE_TEAM_ID: 开发者账号的
Team ID - APPLE_ID: 保存的
Apple ID - APPLE_ID_PWD: 保存的
App Specific Password
脚本
为了方便配置,我们需要用到以下的脚本。
1. ci_certificate.sh
这个脚本用于将Certificate导入到Keychain中。
# create variables
CERTIFICATE_PATH=$RUNNER_TEMP/build_certificate.p12
KEYCHAIN_PATH=$RUNNER_TEMP/app-signing.keychain-db

# import certificate and provisioning profile from secrets
echo -n "$BUILD_CERTIFICATE_BASE64" | base64 --decode -o $CERTIFICATE_PATH

# create temporary keychain
security create-keychain -p "$KEYCHAIN_PASSWORD" $KEYCHAIN_PATH
security set-keychain-settings -lut 21600 $KEYCHAIN_PATH
security unlock-keychain -p "$KEYCHAIN_PASSWORD" $KEYCHAIN_PATH

# import certificate to keychain
security import $CERTIFICATE_PATH -P "$P12_PASSWORD" -A -t cert -f pkcs12 -k $KEYCHAIN_PATH
security list-keychain -d user -s $KEYCHAIN_PATH
2. notary.sh
这个脚本用于Notarization。
# Create variable name for the app name
APP_NAME="SwiftSetup"

# create dmg
create-dmg $APP_NAME.app
cp *.dmg $APP_NAME.dmg

# notarize the app
xcrun notarytool submit $APP_NAME.dmg --apple-id "$APPLE_ID" --team-id "$APPLE_TEAM_ID" --password "$APPLE_ID_PWD" --wait

# staple the ticket
xcrun stapler staple $APP_NAME.dmg
3. Fastfile
这个脚本用于Fastlane。
default_platform(:mac)

app_id = "com.sirily11.SwiftSetup"
team_id = ENV["APPLE_TEAM_ID"]
username = ENV["APPLE_ID"]
password = ENV["APPLE_ID_PWD"]


platform :mac do
  desc "Build app"
  lane :build do
    build_mac_app(
      scheme: "SwiftSetup",
      clean: true,
      output_name: "SwiftSetup",
      export_xcargs: "-skipPackagePluginValidation",
      export_method: "developer-id",
      export_team_id: team_id,
    )
  end
end
GitHub Actions
- name: Install the Apple certificate and provisioning profile
  env:
    BUILD_CERTIFICATE_BASE64: ${{ secrets.BUILD_CERTIFICATE_BASE64 }}
    P12_PASSWORD: ${{ secrets.P12_PASSWORD }}
    KEYCHAIN_PASSWORD: ${{ secrets.KEYCHAIN_PASSWORD }}
  run: ./scripts/ci_certificate.sh
- name: Build app
  env:
    APPLE_TEAM_ID: ${{ secrets.APPLE_TEAM_ID }}
    CODESIGN_SIGN: ${{ secrets.CODESIGN_SIGN }}
  run: fastlane build
- name: Notarize
   env:
    APPLE_ID: ${{ secrets.APPLE_ID }}
    APPLE_ID_PWD: ${{ secrets.APPLE_ID_PWD }}
    APPLE_TEAM_ID: ${{ secrets.APPLE_TEAM_ID }}
  run: ./scripts/notary.sh
create-dmg 是一个用于创建dmg文件的工具,你可以在这里找到它。